
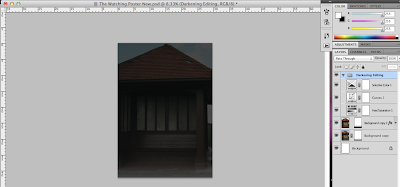
I edited; Selective colour, Curves and Hue/Saturation.
For Hue/Saturation I left the Hue at 0% and had saturation at -54. This made my image look quite grey and dull, which was the intended effect.
Next I edited the curves. To make sure that I had a very dark image I kept the curves of the line very low and straight so that there wasn't too much colour or contrast with the image.
Lastly I added a Selective Colour Adjustment Layer. I used the drop down menu and selected the colour Black. Changing the methor to relative I edited the following.
- Cyan: +1%
- Magenta: 0%
- Yellow: 0%
- Black: -4%
The image in the screen shot is what all of this editing created.
No comments:
Post a Comment